Black Walnut Harvesting In French Creek Valley
(West Central Wisconsin, USA)
Last Revised: October 30, 2023
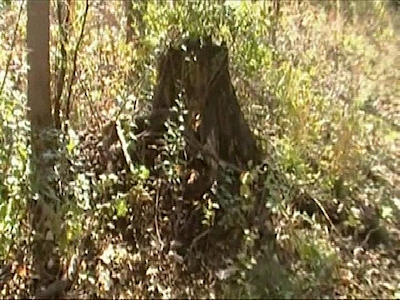
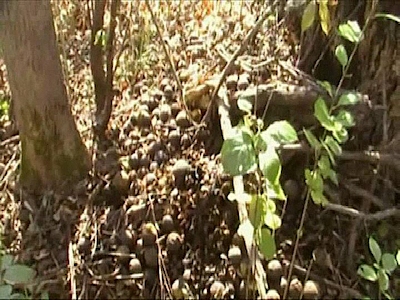
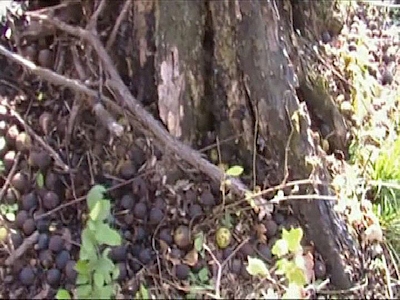
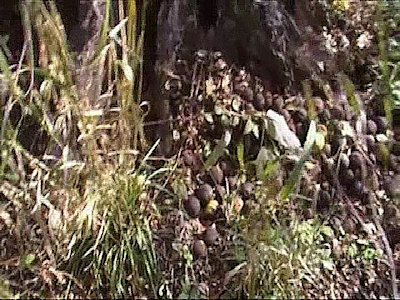
A Cluster Of Black Walnuts, September 2, 2013- Not Ready Yet!
French Creek Valley Home Back to Forestry
My Blacksmithing Page Contact Us
We planted over 2500 Black Walnut trees between the years of 1975 and 1978. Our soil is not the greatest for these
trees (too heavy and wet in most places) so we lost a lot of them. I think that maybe 150 or so survived. Many of them
are stunted, having died back to the rootstock several times, then trying to make it again (and again and again and---).
The good news is that about
30 trees or so have grown well into nut-bearing age. This year was a good year for some of them, so we decided to harvest
four 5-gallon pails full and process them.
The 4 pails we picked from the ground on October 4 and 5 of 2011 yielded over 600 walnuts. We left 2 or 3 times
that many on the ground under just the 5 trees we visited that were big producers this year.
Here are pictures of part of our processing so far:
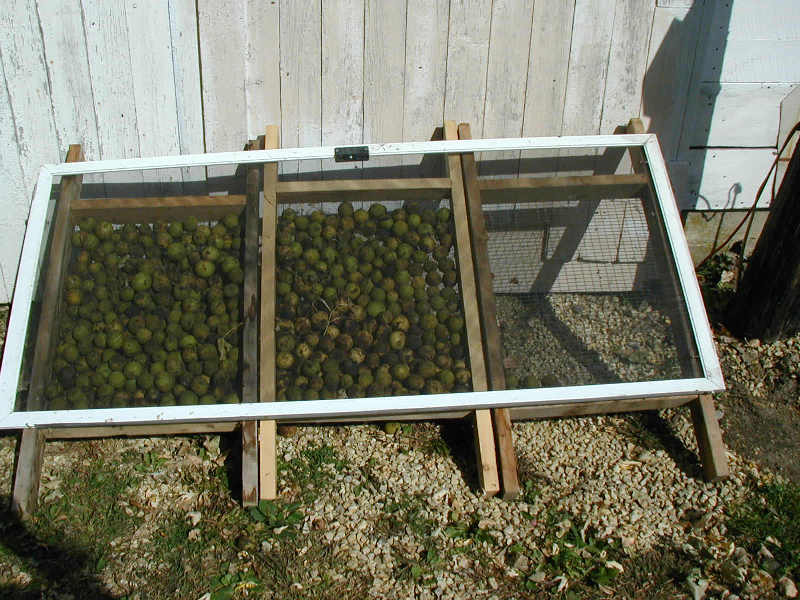
When we brought the walnuts home, I placed them on these 3 sieves to dry. Later that day, I learned from internet sources that I don't need to do that. The are advantages to husking the nuts while the husks are still somewhat green, but just a little bit squishy when squeezed by a strong hand.
Here you see nuts on only two of the three sieves because I didn't think of taking some pix until I had already de-husked the nuts in the first one.
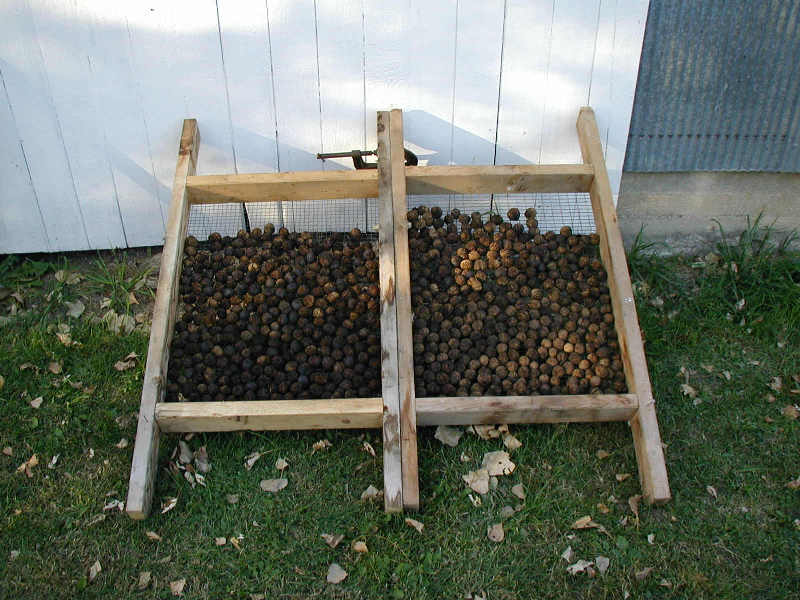
Here's the "After" picture. All the nuts from the 4 pails (or 3 sieves) ended up not even filling the two sieves, as you can see. By the time the nuts ended up here, they had been de-husked, rinsed and vigorously agitated several times in hot water and then drained. Now, after a few hours in the sun, it's time to warm them to about 110 degrees F for a couple of days to thoroughly dry them, inside and out, so no mold will form during the 4 week curing process at about 60 or 70 degrees F. Only then will we crack the shells and extract the nut meats.
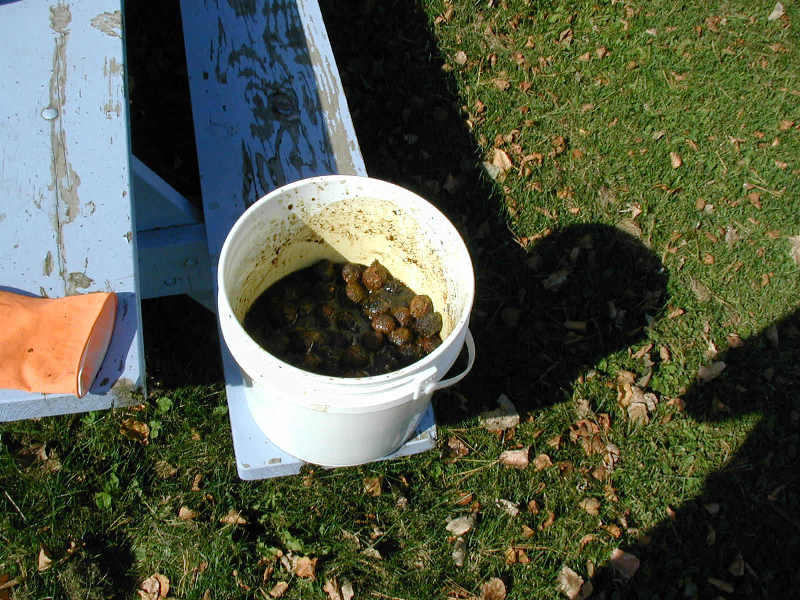
This pail contains about 175 husked nuts that came from the first sieve. As I de-husked the walnuts, I tossed them into this pail which contains hot water several inches deep. The water begins to loosen husk material that is still stuck to the shell of the nut. If you look closely, you can see how "slimy" the nuts look. After each rinsing/agitation cycle, the nuts look cleaner and cleaner and the water is less inky-black.
The main reason for the addtional cleaning is to make the nut meat extraction less messy.
I wore a pair of "refinishing" gloves during this process and they worked very well to keep the STAIN!!! off of my hands throughout the de-husking of the first sieve of nuts. HOWEVER, when working on the rest of the crop, I failed to notice tiny holes that appeared and now, my hands look like those of a coal miner at the end of the day. The coal miner can wash most of it off, but this stuff is permanent--- until new skin grows on, I guess.
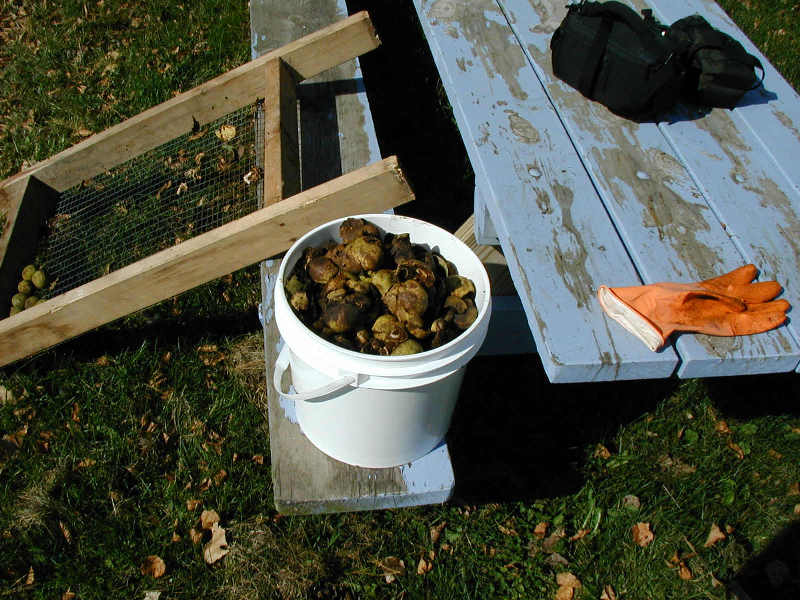
Here are the husks from the 175 walnuts that were in the first sieve. I have even squished then down a couple of times during the processing to make room.
I read a lot about various husking methods, but here's what worked for me:
I picked up a nut and squeezed it between the thumb and forefinger. This would smash the husk against the hard nut inside so the skin of the husk would break open. Then I could peel the husk off the nut. Using nuts that are mostly green, but usually have a little bit of black on them, this process worked for over 80 percent of the nuts. If the husks were too firm to break the skin this way, I used a knife to score all the way through the husk, all the way around the "equator" and then twisted the two halves thus formed in opposite directions. One half would usually come off cleanly. Then I could peel the other half off as previously described.
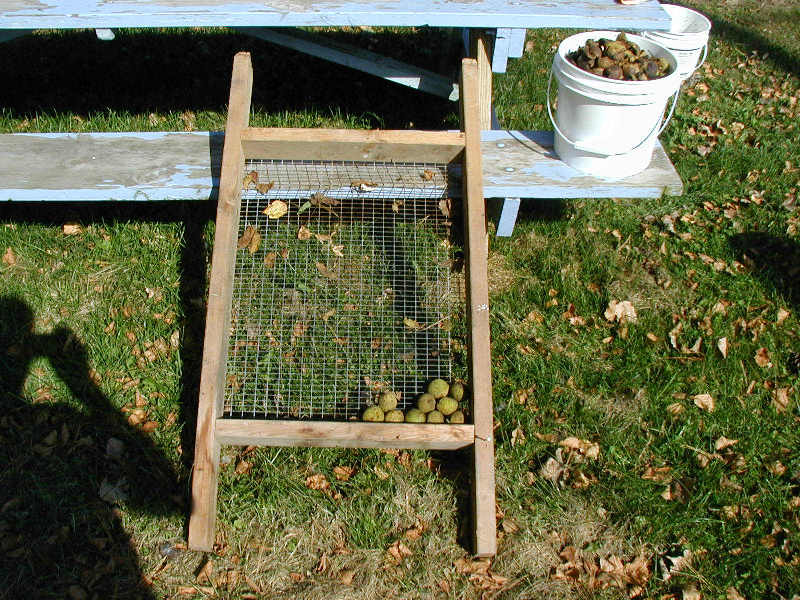
This picture shows the 10 unhusked walnuts from the first sieve of 175 that were too hard to de-husk by simply squeezing them by hand. Note that these nuts are totally green. The outer skin even seems a little wrinkled on a few of them. In the future, maybe they should be left for the squirrels or turkeys.
The walnuts from the other two sieves had a somewhat higher percentage of these hard-husk nuts. We learned from a couple of sources that you shouldn't process nuts unless you can dent the husk with your fingernail. Those nuts DID meet that standard.
By the time we got done, we had 609 nuts left to dry. The nuts are right now being warmed by a 250 watt bulb in the two sieves you have seen. The sieves are stacked one upon another and supported by the corners on pails and the whole works is covered with cloths to help hold the heat in but allow the moisture out. I will keep incresing lamp power and/or keep adding more cloths until the temperature reaches about 110 degrees F, as mentioned previously. After two days of that, they nuts will be moved to the basement for a 4 week "cure". They tell me that the "cure" is where the flavor is developed.
Here are our youtube videos further detailing the project up through the initial drying:
Black Walnut Processing, Part One Half
Black Walnut Processing Part 3 (Improvements to Part One Half)
The video above show a major husking improvement.
This simple step will speed up husking black walnuts by a factor of two or three, or more and it will reduce the strain
on your hands considerably.
All you have to do is to pour a pail of nuts onto a hard surface and then walk on them with twisting motion of each foot
as you go. Each twisty step will flatten the husk to a degree and it will begin tearing the husk away from the nut shell.
Once you are satisfied that you have contacted each nut with a shoe, gather the nuts up and put them back in the pail.
Now continue the husk removal process as I have described previously.
You will want to wear your garden shoes, since it would be a bad thing to track the walnut stain juice into the house.
The rougher the soles on the shoes or boots you wear, the better the result.
Black Walnut Processing, Part 1
As of November 10, 2011, the cure is complete. Check out this video for the nutmeat extraction process:
Black Walnut Processing,
Part 2
As of November 12, I have extracted nutmeats from about 400 nuts. It is taking me about 2 hours to extract the nutmeats
from
100 nuts. About 200 nutmeats fill a one quart Mason jar. It is recommended to store these sealed jars of nutmeats in
the freezer if they aren't
going to be used within about a 4 month period. This is to keep the oils in the nuts from becoming rancid.
To make the job less of a hassle, I started extracting the nuts in my favorite chair, in front of the TV set. That did
provide a
distraction, but sometimes the walnut shells would pop into the air several feet from me. To stop this from happening,
I cut
most of the side out of a plastic 5 gallon pail, leaving about 2 inches at the bottom of pail intact on the side that I cut.
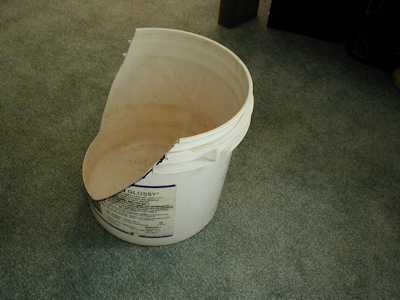
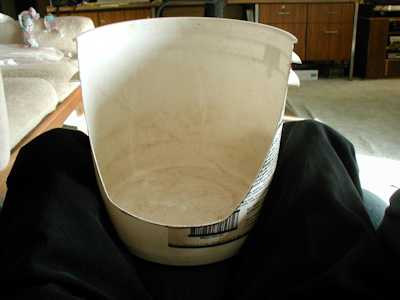
The pail sits right in front me on the chair and the full height back side
acts as a backboard, catching almost all the flying objects. The bottom 2 inches of pail provides a handy receptacle
for the empty shell fragments.
