JXQ-10 Preparations for 2013 Season
Created: June 3 2013
Last Revised: October 23, 2023
French Creek Valley Home
Back to Our JXQ-10A Main Page
Contact Us
It's June 3, 2013 and I still haven't started my system up yet this year, but I have been doing a lot of preparation:
1. Examine system for evidence of tar
Tar getting in to the engine is a major concern, as I am sure you all know.
So I took some pix of the output of the system piping and the input to the engine. The good news is that there is
no significant tar getting to the carburetor of my generator as long as I keep the JXQ-10 blower running when the
engine is running.
Looking from the engine carburetor, backward toward the gasifier filter system, here are some pictures:
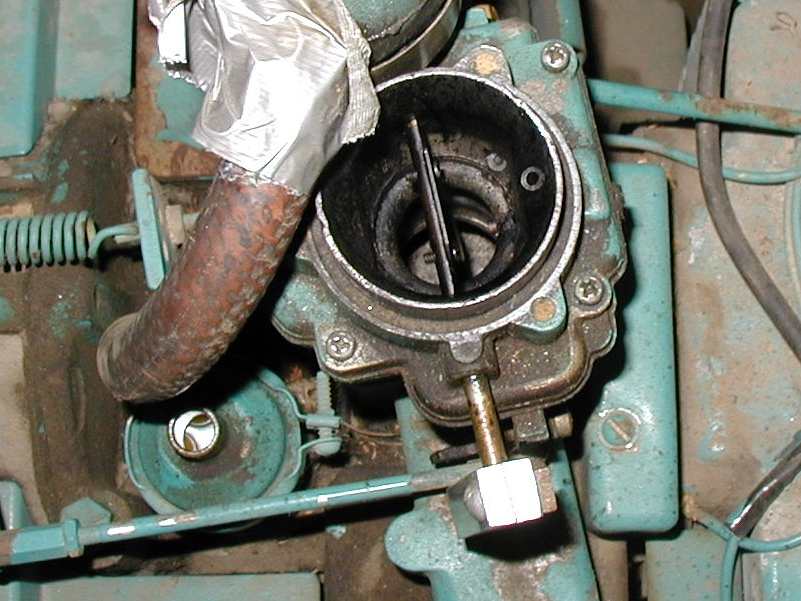
No Tar to speak of got to the Carburetor Throttle Plate. The experts confirm that this looks very good for about
10 to 20 hours of running. They said that, if there had been enough tar to worry about, the throttle would have
stuck tight and the intake valves would have siezed several hours ago.
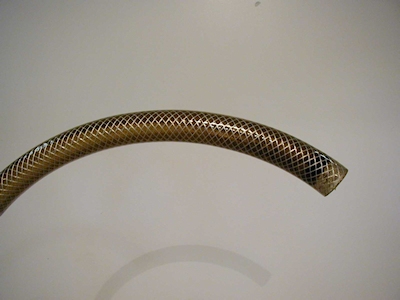
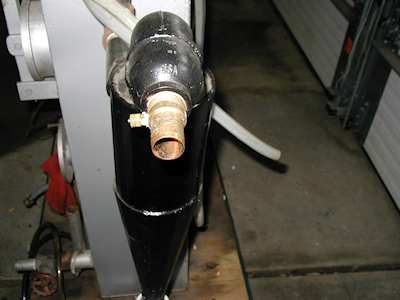
Induction Yube from carb to cyclone separator- Not bad. Cyclone Separator Output. Nice and Clean
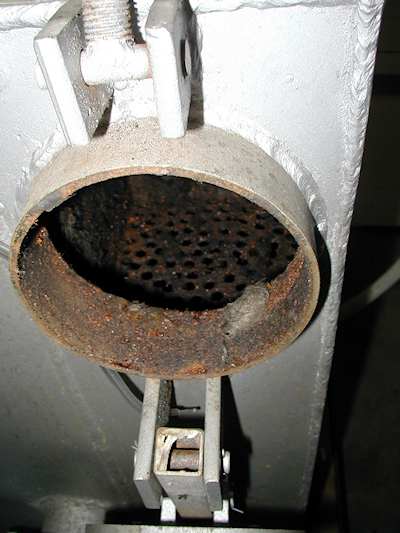
Bottom of Final Filter Chamber- Not much tar at all.
Since I recently got one of those HF inspection cameras on a cable as a gift, I nosed around inside the filter as much
as I could to
look for components that would make my JXQ-10 different from what I originally thought it was. I didn't find any
design or manufacturing surprises.
But I did find signs of thick tar at the bottom of the blower fitting and at the blower output:
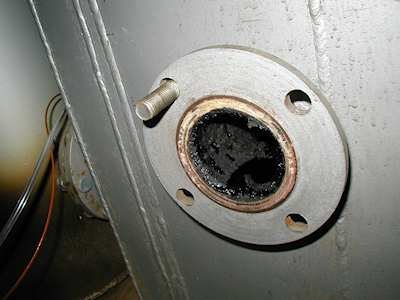
I think that tar
came from running the genset with the blower off, thereby sucking all the water out of the center chamber. With no
water in the center chamber, the hot, diry, tarry gas doesn't get filtered or cooled at all, until it gets to the right
hand chamber! I won't do that again.
2. Rebuild and Expand the Arduino Datalogger
I needed to add signal lights for both temperature and pressure to my datalogger. It also needed a couple more pressure
sensors, some with a wider range. While I was at it, I decided to re-do the whole layout of the datalogger to clean
it up.
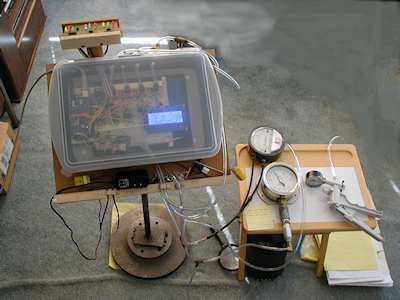
Youtube Video of Rebuilding my Arduino-Based Datalogger
3. Calibrate the Thermocouples
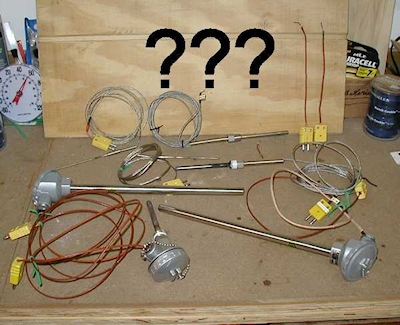
I learned that I needed longer thermocouples, and that I needed to make sure that the ones I have been using
had reading correctly.
So, using my Arduino Datalogger's temperature sensing and reading/recording capabilities, and a home made calibration oven,
I tested just about every thermocouple I have.
My Type K Thermocouple Calibration Page
4. Test a Narrow Band Oxygen Sensor/Panel Meter Setup
Since most of my past tests have ended when the JXQ-10 stopped producing enough woodgas to run the engine (or even the
flare, occasionally) for some unknown reason, I decided that I needed a
signal from the generator to tell me that conditions were STARTING to change, so I could do something about it before it
was too late.
About this time,I met a guy who has built a "Victoria" gasifier and he also uses an Arduino-based measurement and
control system.
He has been experimenting with exhaust gas oxygen sensors and that got me thinking that I should at least understand
how they work.
So I got one to put in the exhaust stream of my generator and an inexpesive panel meter to use for visual indication.
So far I have done some bench testing and I think I now know basically how they work.
--------------------------------------
-Here are links to two youtube videos on the subject:
Narrow Band Oxygen Sensor Test, No A/F Ratio Meter
Second Oxygen Sensor Test, With Air/Fuel Ratio Panel Meter
5.Wood Chip Drying
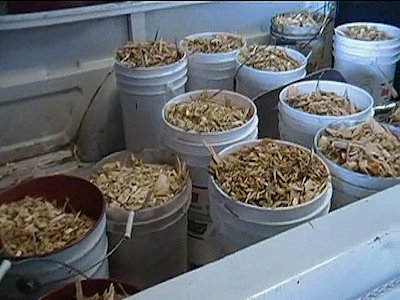
The county chipped a lot of trees just a mile from my house this spring and left the chips in piles. I gathered, sorted
and dried about thirty 5 gallon pails of them.
My sorting has all been done with sieves, by hand, so far. Recently I have decided to keep chips that don't fall
through a 1/2" X 1/2" sieve. (After sorting out the "longs", of course.)
Youtube Video of Wood Chip Processing
At first, I would go to the wood chip piles and scoop the "best" chips into pails, bring them home, sieve them as
above, then lay them out to dry. But now, I take my sorting equipment with me to the wood chips, set up to sort them
right on the spot, leaving the "smalls" and the "longs" right there in the ditch.
I went out one day and watched the county workers running 10 inch the chipper. It was a disk chipper (the ONLY kind for getting
larger chips, as far as I am concerned). I observed that the largest chips seemed to shoot farther than the lighter
material. This makes my gathering and sorting job even easier. I don't even touch the really small stuff if I can
help it.
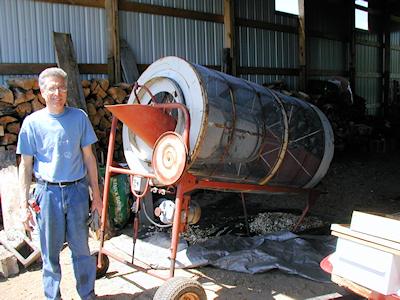
6. Got Our New Wood Chip Cleaner Going
In May, I went into partnership with another woodgasser to buy and resurrect a grain cleaning machine to use for
chip sorting. We have gotten it running quite well, and after several tests, replaced its sieve screens with
sizes that meet our needs. It can sort a 5 gallon pail of chips in about 15 seconds!
7. Need to restrict grate area to get temperatures up
Tom Diesel has strongly suggested restricting the grate area, so I made a temporary plate to lay on top of the
existing grate.
It is about 9 1/2" OD (the largest diameter that I could fit in there) with a 5" ID. This plate is 1/4" thick.
As you can see, I cut the plate into thirds, like slices of a pie so I could get it into place.
Yes, I know that this plate will get eaten away if the temperature gets hot enough, but I have a lot of plate around
here that I can sacrifice for the cause. If I do get it right, then I can go for stainless steel or cast iron.
And, of course, if there is any sign that this plate helps, I can experiment with smaller and smaller ID's.
Tom also strongly suggests that I put some nozzles in there, but I am still trying to "sneak up" on a total
solution, one step at a time.
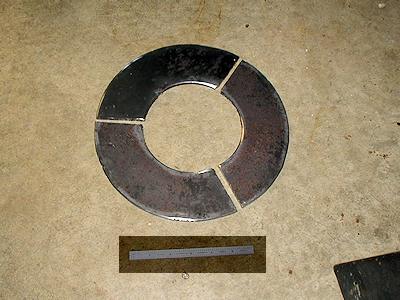
9 Plus Inch Restriction Ring With 5 Inch ID
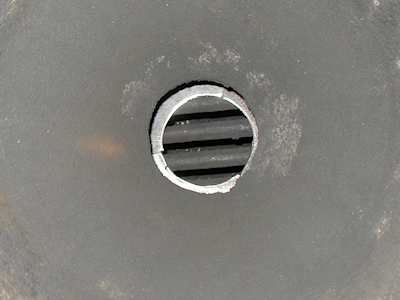
5 Inch Restriction Ring Sitting On the JXQ-10's Reactor Grate
Well, As soon as my latest 6 inch sheathed thermocouples arrive, I will install them and, hopefully, begin making woodgas.


