Tom Latané's COPPER CLAD CHEST
A Pictorial Tour of the Process Used to Make Copper Clad Chest
Homepage Gallery Visit Our Shop in Pepin Wisconsin Upcoming Classes and Shows
Copper Clad Chest
This project involved woodwork to produce the chest under the copper cladding, forge-work to produce the steel lock and key,
and copper work producing cladding, molding and trim as well as repousse seals worked over jeweler's pitch.
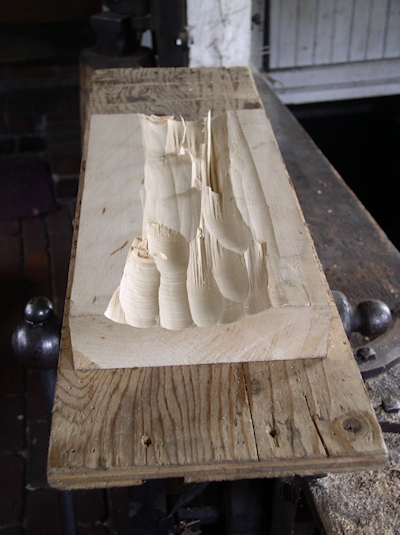
I The inside of the curved lid of the wooden box to be clad in copper was carved with a gouge from a thick piece of basswood.
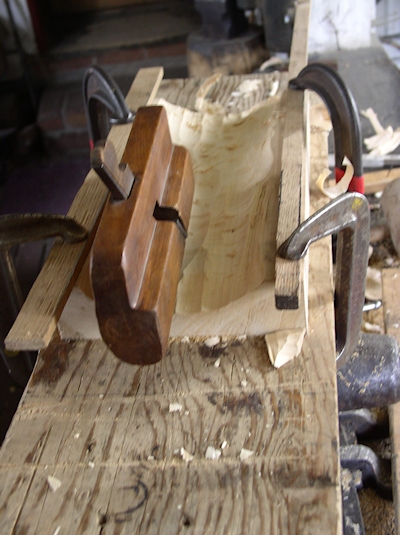
2 A hollowing plane was used to smooth away the gouge marks inside the lid.
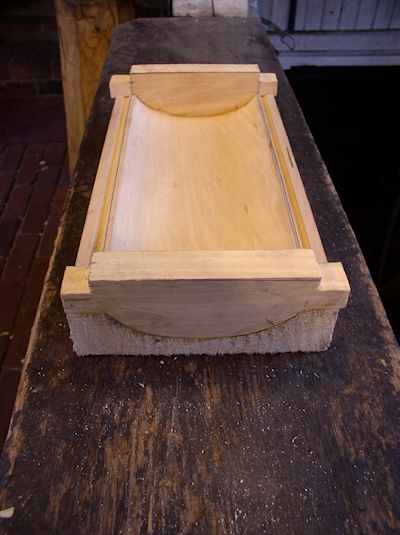
3 End walls were fit to the underside of the lid and glued and pegged in place.
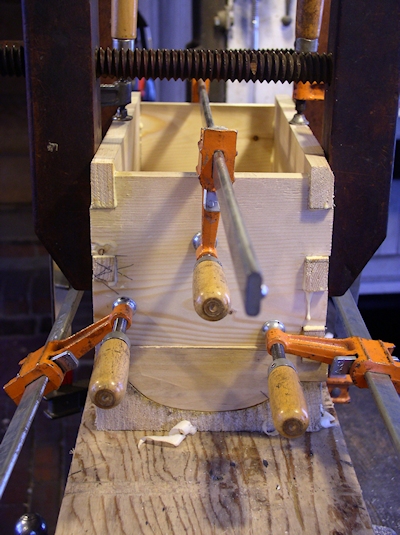
4 Pine walls were dovetailed at the corners to form the body of the chest. The tops of the front and back walls were glued to the lid.

5 The protruding wood at the joints was trimmed away and the surfaces planed.
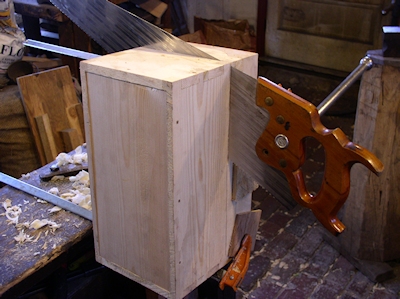
6 A bottom was fitted and pegged into the chest at this point adding stability to the form. Following the parting line between the lid end walls and the box end walls the front and back walls were sawn to separate the lid from the box.
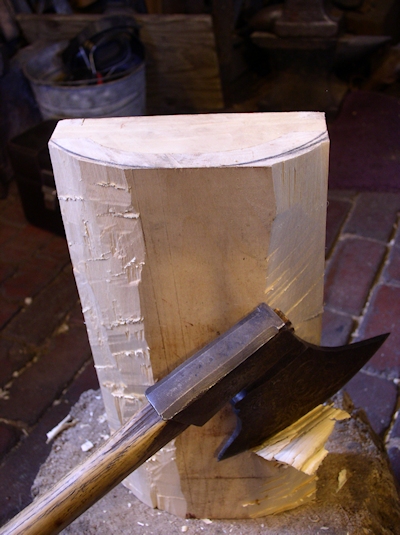
7 At this point the outside of the lid was hewn to a line scribed to follow the arc of the inside curve of the lid.
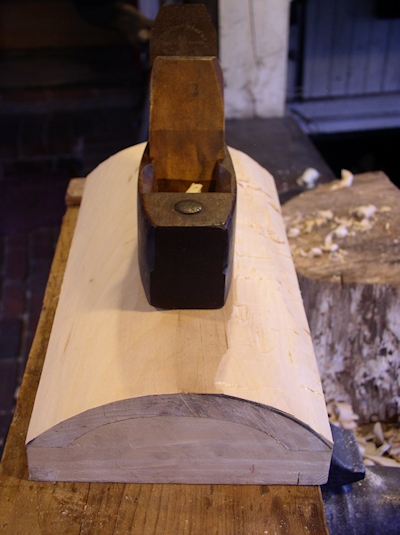
8 The outside of the lid was planed smooth.
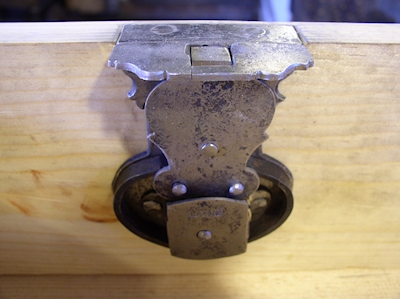
9 The lock I had forged and finished for the chest was mounted inside after the keyhole had been cut through the wood.
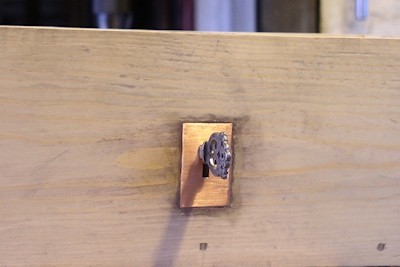
10 A copper escutcheon for the keyholde was let into the wood to be flush with the outer surface,
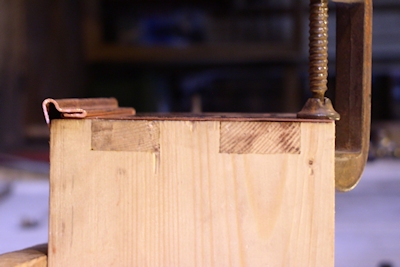
11 A trim piece was folded over a simple form and then soldered to each copper wall of the chest. The trim was mitered and the pieces glued to the wood with contact cement.
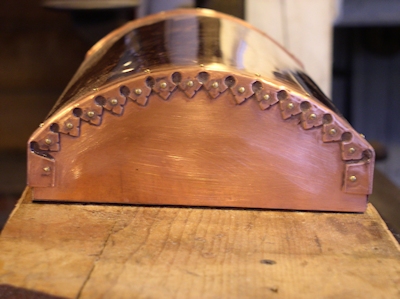
12 Trim pieces at the corners covered the places where the cladding met and the brass nails that secured the trim also held the cladding in place. The intricate looking decoration on the curved trim was produced by a series of simple steps. The holes were drilled, then the notches cut to leave triangular points. Each point was filed with notches to leave three lobes.
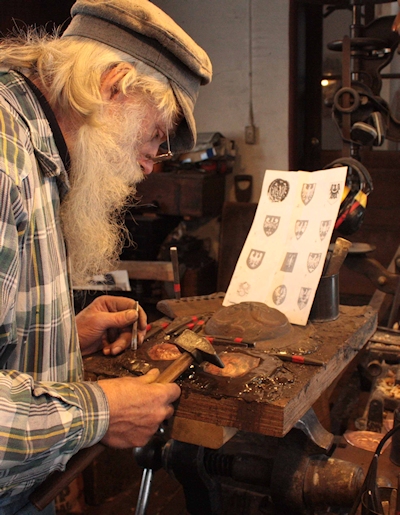
13 Work on the royal Polish seals was done over jeweler's pitch.
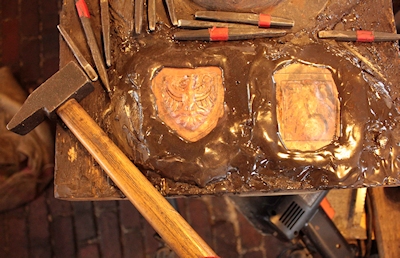
14 The designs were marked on the copper shields from images provided by the customer. The shields were domed and bedded in the warm pitch. Chasing began from the front. This created ridges that showed on the back between which the copper was pushed out again.

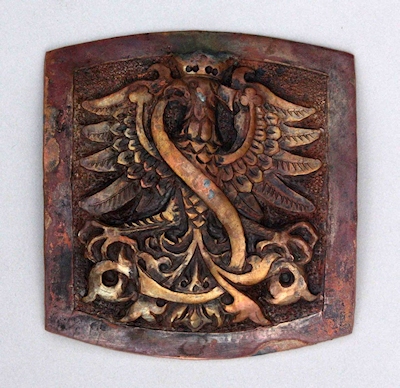
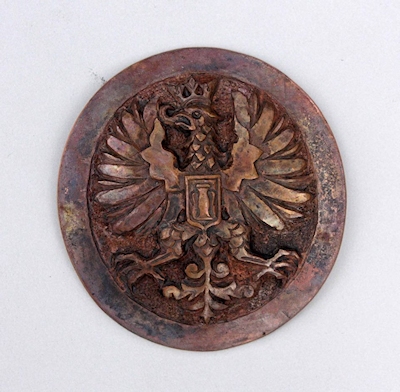
Three of the more intricate emblems. The pieces were reversed front to back many times, the pitch cleaned off and the copper annealed, so the design could be slowly developed from both sides to complete each shield with its eagle.
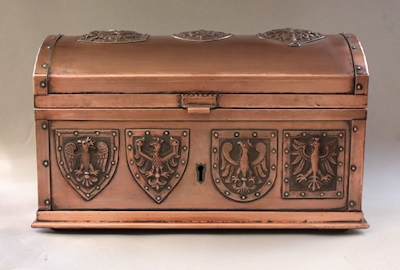
18 View of the chest front with the shields secured with brass nails through their borders. Shields on the lid had to be bent to match the arc.
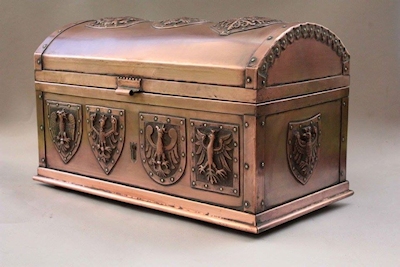
19 A three quarter view of the finished chest.
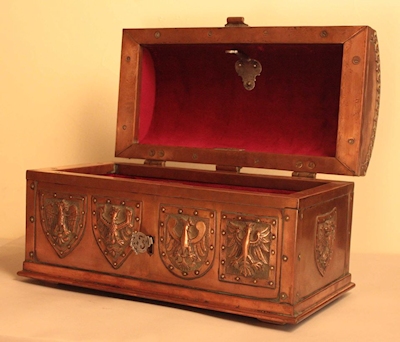
20 The interior was lined with red velvet by Catherine Latané. Copper trim strips were screwed on with brass screws to finish off the edges under the lid and on the walls of the box.
---------------------------------
The chest was produced to replace one that was stolen from the home of the customer. There were no photos of the original so I worked from a rough sketch and images of the 12 variations of the Polish royal seal through history that the customer provided. The job was an interesting challenge and the customer was pleased.
Contact Us
November 19 2023 10:01PM