Tom Latané's RING HANDLE FOR A LATCH
A Pictorial Tour of the Process Used to Make the Ring Handle
Homepage Gallery Visit Our Shop in Pepin Wisconsin Upcoming Classes and Shows
Ring handle for a latch.
Inspired by medieval Norwegian ring handles for latches on church doors, this Ring Handle was made as the prototype for a class.
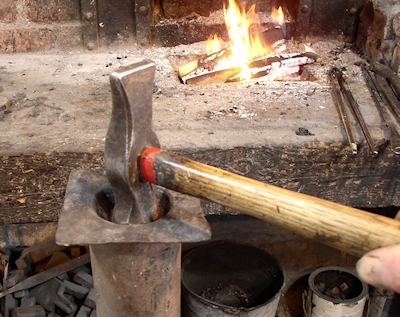
NOTE: In all the photos showing placement of tools or hammer blows the metal would be hot during the work. I have given up trying to take pictures showing what I want while the metal is hot. The reader must use imagination.
-------------------------------------------------------------
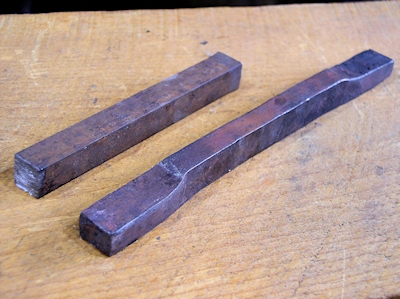
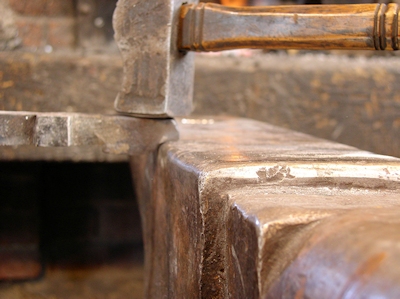
Starting with 10" of 3/4 inch square bar ( short piece, shown in photo for cross section comparison, is less than 10") both ends are upset, thickening the ends and shortening the bar overall. A couple inches of each end are then flattened in one plane and the material in the middle flattened in the perpendicular plane reducing thickness to about 5/8" while increasing width.
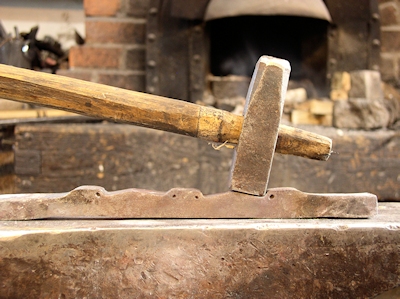
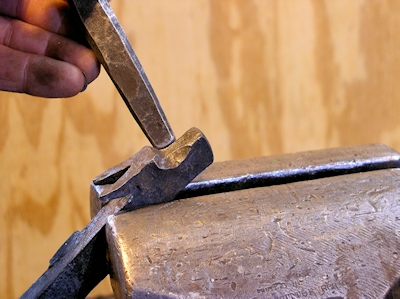
The middle section is then marked with a center punch to locate three 3/4 inch segments (destined to be raised square bosses on the bar) - one in the center and two at the ends of the middle section. The two areas between these thee bosses will be forged down to leave the bosses prominent. At the punch marks shoulders are formed to define the ends of the bosses using the edge of the anvil ( B- easier to do alone) or with a set hammer ( C - easier to see placement and results, as the shoulders formed are facing up, but harder to do alone). After creating the shoulders, the set hammer is used to flatten the area between the shoulders leaving raised elements about 3/4 inch long x 5/8" wide.
.JPG)
With the bar in the vise and one edge of the boss resting on the top of a jaw, each boss is upset using a set tool from above. This process, which reduces the length of each raised segment to match its width, also more cleanly defines the edges and makes each boss stand more away from the bar. If the flattened material either side of the center boss is not equal, the shorter side can be stretched or the longer side upset.
.JPG)
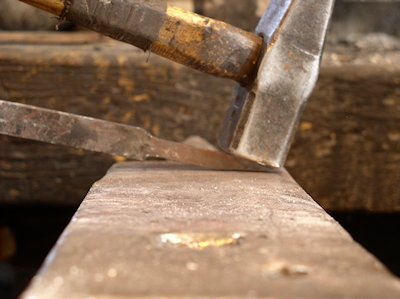
Over the far edge of the anvil, a shoulder is created behind the material flattened in the other plane for each head. This defines the ends of what will be the horns. The rest of the bar should be hammered to an even width at this point.
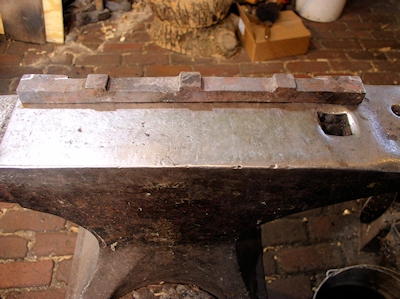
The forged bar should be adjusted now so that the three blocks are similar to each other in width and height and the spaces between them even. In this photo initial elements of the faces have been drawn on the ends.
The near edge of the anvil is used to set a shoulder at what will be the brow of each face.
.JPG)
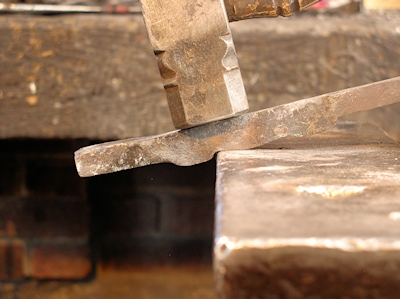
With the back of the head (what will be horns actually) supported on the top of the vise jaw, the mouth is cut open with a chisel. This will make forming the mouth easier later.

The mouth is closed again and the snout gripped in the vise with the brow resting on the top of the jaw. The material that will be a pair of horns is split away from the neck with a chisel.
With the bar in the same position, the horns are split apart from each other with a chisel.

A piece of grader blade is used to support the underside of the horns for drawing points.

A stake is used to support the horns' inner sides for drawing the other dimension. Having two vises to hold the tooling helps when going back and forth for the drawing process that brings the horns to points.
With the neck gripped in the vise at the jaw line, a blunt fuller is used to bevel the snout in front of the brow, creating more area for the eyes while leaving mass for the nostrils.
.JPG)
Though taken later, this photo shows the eye tool used to make eye impressions at this time.

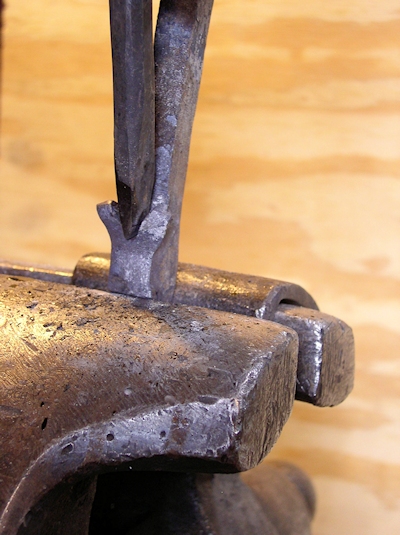
Now, with the square boss resting on top of the vise jaw, the mouth is opened again and successively larger fullers used to round out the bottom of the mouth opening.

Successively larger round punches are used to open a hole in the throat which will receive the pivot pin connecting the two dragon heads.

Any desired longitudinal lines are chased in the hot bar while it is straight.
.JPG)
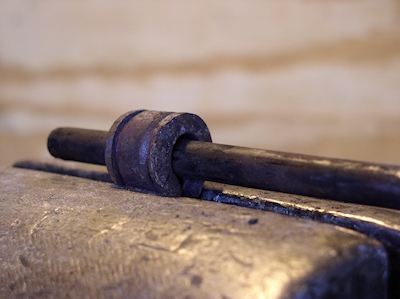
The ring has been rolled and the dragon mouths brought together on a round rod which is tapered slightly at both ends. This round pin is brazed into the mouths in the forge. Pickling in vinegar removes scale and flux for clean-up with files.
.JPG)
The smaller chased designs on the ring and the nostrils on the heads can be chased cold. The dragon heads are filed to add more detail- horns rounded, snout wrinkled, and jaw defined.

The pivot eye is formed from a piece of steel 1/4th inch thick by a width equal to the length of the exposed pivot pin. The end is shouldered to start one of the spikes that will pass through the escutcheon and completely through the door.
This end is tapered in both width and thickness to a point. The operation is repeated at the other end leaving a section in the center long enough to go around the pivot pin with a little extra space for movement. The two rectangular spike ends should form a square spike when later brought together.
That center section can be chased with butcher, fuller, or chisel. It is then bent in a "U" shape and pinched in the vise around a mandrel a little larger than the pivot pin.
For an escutcheon a square piece of 1/8 inch steel is sunk in a ring to create a round dome. (Historically square domes were more common.)

The dome can be planished over a ball stake and the flat rim thinned at the edge of the anvil. Here a pattern is being traced on the four corners.
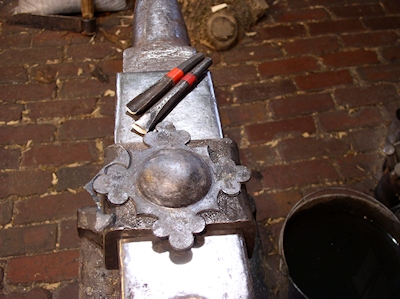
If the edge has been thinned enough the flange of the escutcheon can be cut out with chisels when cold.
.JPG)
A square hole is chiseled through the center of the escutcheon dome to accept the double spike of the swivel eye. The double spike will be driven through the door (in this case the ring handle is a simple pull and not a latch) and the spike ends separated and rolled over so the ends can be driven back into the wood of the door.
----------------------
The forging process for the ring handle and pivot eye would be the same whether using the ring handle for a latch, simple pull or as a door knocker. The back latch hardware was pictured in the Gallery section. In that photo the tapered ends of the pivot eye can be seen rolled over to secure the cam that lifts the latch bar. A knocker will require a boss, often made in the form of a spike with a heavy head, against which the ring would strike.
Contact Us